Showing posts with label crochet pattern. Show all posts

Wednesday, April 16, 2014

Free pattern: Bunny Egg Warmer


Today I have a free pattern for you.:)


Easter Bunny egg warmer/cozy.


To make these cuties you will need:
~ scraps of yarn (I used worsted weight)
~ Hook F/3.75
~ embroidery floss
~ tiny piece of felt for the nose
~ scraps of fabric for the ears lining

Lets make the COZY first.

Round 1 : Ch2,6 sc in the 2nd ch from the hook. (6)
Do not join, place the stitch marker.
Round 2: 2 sc in each st around. (12)
Round 3: sc in each st around. (12)
Round 4: *sc in 1st st, 2sc in the next st* repeat all the way around. (18) 
Round 5: sc all the way around. (18)
Round 6: *sc in the next 2 sts, 2sc in the next st* repeat all the way around. (24)
Round 7-11: sc all the way around. (24)
Round 12: crab stitch all the way around. Finish off.
The last round is optional, but I LoVe crab stitch (also known as “reverse single crochet” ! If you’ve never tried this stitch, you should :) Here is a great video tutorial. 


 Now let’s work on the EARS (make 2): 

 Round 1:CH9,  sc in the 2nd ch from the hook, sc in the next 3 sts, hdc in the next 2 sts, dc in the next sts, 3dc in the last st; now working on the other side of the foundation chain- 2dc in the 1st st(this stitch already has 3dc),dc in the next st, hdc in the next 2 sts, sc in the next 4 sts.
Round 2: sc all the way around.
Finish off. Repeat this to make second ear.


Now cut out the fabric for the lining and sew it to the inside of each ear.
I used crocheted ears as my templates, I placed them on fabric and traced around them with a fabric marker.
Now sew the ears to the cozy 


Add the  tiny felt nose and embroider the  eyes


And of course we can not forget about the cute bunny tail. 


And you are done! Hoo-ray! 

I wish everyone Happy Easter and Happy Spring! :) 


Pin It!

Wednesday, October 30, 2013

Spooktacular coffee cup sleeve tutorial

Today I wanted to share this very simple coffee cup sleeve pattern.


I decided to choose Halloween theme for this one, but of course, the possibilities are endless, especially with the Holidays coming. :)

To make this cup cozy, you will need:

- #3/light yarn

- crochet hook # F/3.75

The pattern: 

Ch36, join carefully-not to twist the stitches.

I am using tall Starbucks cup.

Round 1-4: sc all the way around. Place a stitch marker to know where each round ends.

Round 5: 2sc in the 1st stitch, sc in the next 17 sts, 2 sc in the next st, sc in the next 17 sts.

Round 6-13: sc all the way around.

Round 14: work crab stitch all the way around.

Finish off, weave in ends.


Now when the sleeve is done, the fun part begins;)


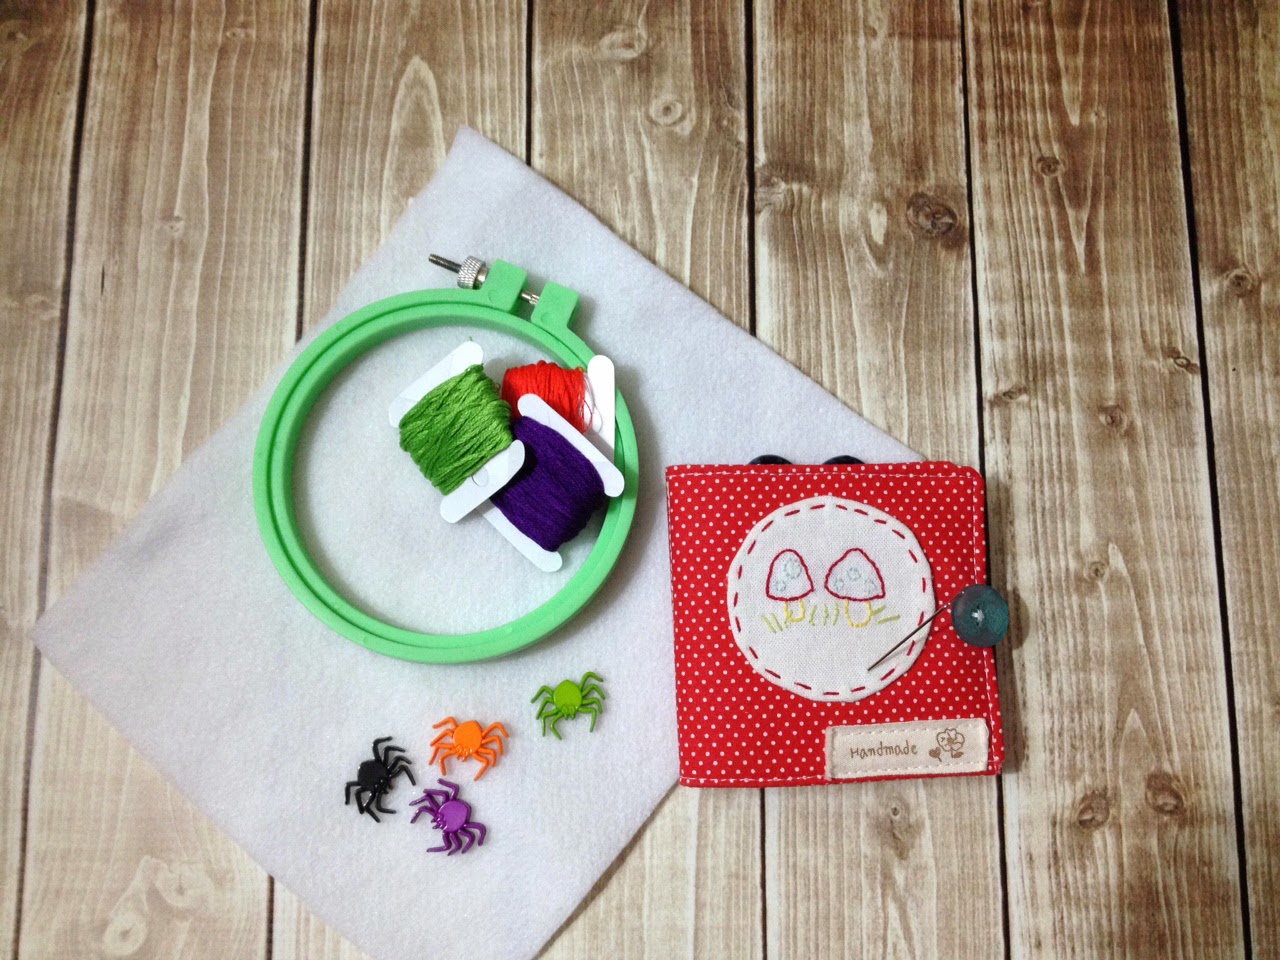
To make the felt patch, you will need:

- felt

- embroidery hoop

- embroidery floss

- needle

- heat transfer pencil

- iron

- scissors

- any embellishments you like


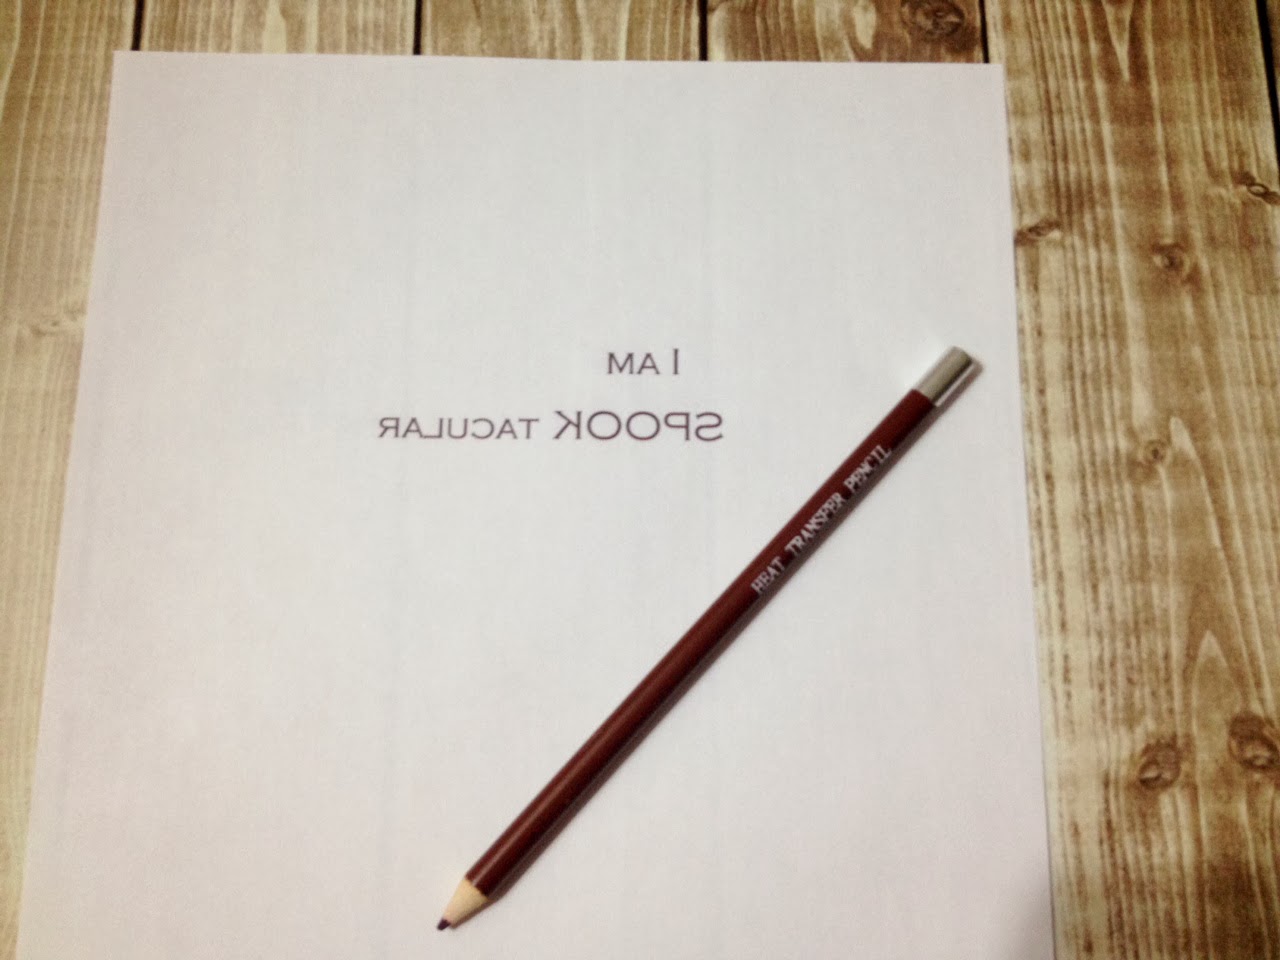
First, you will need to type the text  and then you will need to print it out. You will have to reverse the text before printing, because it will be backwards when you apply it to the felt.


Then I crabbed my  Hot  Iron Heat Transfer Pencil (bought it at Michael's), and traced over the text.


Then simply place the print on top of the felt face down and pressed it with a hot iron.


And now the text is transfered and ready.:)


The lines of the text will be permanent, so you will want to cover them completely with embroidery stitches.

I should say that I just love this part of the project.I am a total beginner in embroidery and I enjoy it so much. I just hope that one day I will be able to make something more complicated and beautiful. :)

So when you are done with embroidery and other embellishments, just simply sew the patch to the sleeve.And you are done!


Isn't it a fun and simple project? I got carried away and made another one...

..and another...


and 9 more :) They are all available in my shop.

I hope you will have fun making these cozies- and let me know if you have any questions!


Wish you all a very SPOOKtacular Halloween!


Pin It!

Tuesday, September 10, 2013

And four is a crowd....

Have you seen Me to You Bear? 


The cutest Tatty Teddy... with blue nose, patches and stitches... You can learn about his story here.

I have been obsessed with them for the past ten years!

I got the first one as a gift I was in college,and I brought him with me to the US.


The second one was a  last years birthday present. He flew to US all the way from Russia.

And the big Tatty Teddy I found in one of the closing Hallmark stores couple of months ago.


But I still hope that one day my dream will come true and that I will add giant Blue Nose Tatty Teddy to my collection :)


Unfortunately, they are only sold in UK, and they do not ship overseas because of the size.But I am believer. The dreams do come true! :)

For now, I thought, why not to make blue nose friend of my own?!

That's how this lovey dovey Teddy was born!


  Soft and cuddly-just perfect for little ones:)


This is a very easy project, perfect for beginner. Only basic crocheting knowledge is required.

This pattern can be found in my ravelry, craftsy or etsy shop:)


Isn't he a cutie?!!:)
Pin It!

Wednesday, July 31, 2013

For the book lovers.

This summer I have been sooooo lazy. My mind is melting because of the heat and humidity, and I am secretly dreaming about three quarter sleeves, boots, cozy cowls and fresh autumn air. I know that when November comes with all its wetness and gloominess, I will start counting days till summer :) I know, human nature, and I can't help it...

So this summer is not as productive as I want it to be, but I still managed to complete some of the protects that have been on my list for a long time. This library tote is one of them :)


The school year will start before we know it, so I thought maybe you, my creative friends, would like to make this  tote for your child, for your friend or  for yourself:)

Working on this project I decided to experiment with materials. I wanted this tote to have canvas feel and look, and I had trouble finding that perfect yarn for it. Then shopping in Home Depot, I came across this household twine.
I believe it was $2.97 per "skein" and I used a little bit over two.I would compare it to medium weight yarn. But of course,you can use any type of yarn you like, the household twine is just my personal preference.:) 

With Hook #H/5.00 make Ch58

Round: dc in the 4th ch from the hook and in every st until just one last st is left, then 5dc sts in the last st; now working on the other side of the foundation chain,work dc in every st till the very last st, them 4dc in the last st, and join with sl st into the 3rd ch of ch3. This is going to be the bottom of the tote. 

Round 2: From now on,you will be working in rounds without joining, so you can place stitch marker here to know where each round begins. Work sc in every st around working in back loops only.
Repeat Round 2 as many times as you need to achieve the desired look. I completed 45 rounds and my finished tote measures 13"x14".

Now the handles (make 2): 
Before making the chain, leave long tail for sewing the handle to the tote.
Ch81
Make sc in the 2nd ch from the hook and in the next 79 sts, until just one last st remains, then 5sc sts  in the last st, now working on the other side of the foundation chain, work  sc in every st till the very last st, then 4sc sts in the last st, join with sl to the ch1. Finish off leaving long tail for sewing.  


Now the fun part begins :) I downloaded Grinched Font here, typed  my favorite Dr.Suess quote in Word Document,  and then I printed it on heat transfer paper (bought it at Walmart for about $9)

When you are ready to print the transfer, make sure you flip the image. I couldn't do it in Word, it didn't give me that option, but luckily my printer had "t shirt  transfer" setting,so I checked that box and it printed my image exactly how I need it to be.

Then I took the piece of cotton fabric, ironed it first, and transfered my image to the fabric following the instructions that came with the transfer paper. The I cut out the part that I needed and glued it to my tote. 
Then made the bow and the hat:) 
And glued them too. 


 I really like that the twine does not stretch as a regular yarn does, so the handles do not stretch  and do not pinch the shoulder.

I also added lining with a pocket. I can not give instructions on that one because the sewing is not the area of my expertise :))   I am sure there are tons of great tutorials out there that explain this simple step. I just went with the flow and I really like how it turned out! :) 


Now the trips to the library have become  even more exciting!!! 


xoxo, 
Tanya


Pin It!

Saturday, June 15, 2013

Something old is new again - Crochet Dress Pattern


I was organizing Alina's closet last week and found this dress that I made for her last year.
She didn't have a chance to wear it that much so I decided to try it on here and see if she can wear it this summer season. It fits her fine now, although it looks more like a shirt,and she need  shorts or  leggings to cover her little bum:)

You can find instructions on how to make this dress here.


Here is how I made tiny flowers:

Magic Ring, all stitches will be made inside the Magic Ring- *Ch3, 4 dc  cluster stitc h, Ch3, and slip stitch* repeat 4 more times. You will have 5 petals, then pull the ring tight and finish off.

You can find instructions on how to make dc cluster stitch here.


I sewed flowers to the dress, and added tiny pearls in the center of each flower.


I like it. And what do you think?! :)


xoxo,
Tanya


Pin It!

Sunday, June 9, 2013

Very wise owl FREE crochet PATTERN

Do you know someone who is graduating this summer and do you want to congratulate them with a special gift? What could be better then a gift made with your own hands! :)
So today I will show you how to make this VERY wise owl!


You will need:

-worsted weight yarn ( two colors for the body and wings, yellow for the beak, white, blue and black for eyes)
- Hook # F/3.75
- black felt for hat
- yellow embroidery floss to make a tassel
- brow felt and brown thread to make feet
- paper and red thread for the diploma
- Poly-fill
- needle and scissors

Lets make the owl!

Head-body:
Ch2

Round 1: 6sc in the 2nd ch form the hook. Do not join, place stitch marker. (6)
Round 2: 2sc in every st around.(12)
Round 3: *sc in 1st st, 2sc in the next st* repeat all the way around. (18)
Round 4: *sc in next 2 sts, 2sc in the next sts* repeat all the way around. (24)
Round 5: *sc in next 3 sts, 2sc in the next sts* repeat all the way around. (30)
Round 6: *sc in next 4 sts, 2sc in the next sts* repeat all the way around. (36)
Round 7: *sc in next 5 sts, 2sc in the next sts* repeat all the way around. (42)
Round 8: *sc in next 6 sts, 2sc in the next sts* repeat all the way around. (48)
Round 9-23: sc in every st around (48) Change to contrast yarn color for Round 13 and Round 17.
Round 24: *sc in next 6 sts, sc dec* repeat all the way around.(42)
Round 25: sc in every st around. (42)
Round 26: *sc in next 5 sts, sc dec* repeat all the way around.(36)
Round 27: sc all the way around. (36)
Round 28: *sc in next 4 sts, sc dec* repeat all the way around. (30)
Round 29-34: sc all the way around.
Now stuff with Poly-fill.
At this point you will need to make about 6-7 sc so that the "right side"-where the face will be is now facing you, fold the body in half and join with sc st- work sc sts until you reach the middle, then make slip st in the st 4 Rounds below.

Then continue working sc till the end. Finish off.

Now cut 6-8 strands of yarn for each ear.Line the ends up and attach them to the ears. Trim the strands so they are even.


To make Eyes (make 2):
Starting with black yarn make Ch2.
Round 1: 6sc in the 2nd ch from the hook. (6)
Change to blue yarn and continue.
Round 2: 2sc in every st around. (12)
Round 3: *sc in 1st st, 2sc in the next st* repeat all the way around. (18)
Change to white color yarn.
Round 4: *sc in next 2 sts, 2sc in the next st* repeat all the way around. (24)
Round 5: *sc in next 3 sts, 2sc in the next st* repeat all the way around. (30)
Finish off leaving long tail for sewing.

Beak:
With yellow yarn make Ch2

Row 1: 2sc in the 2nd ch from the hook. (2)
Row 2: sc in every st. (2)
Row 3: 2sc in every st. (4)
Row 4: sc in every st. (4)
Then work sc evenly around the beak making 2sc in the bottom corner. Finish off, leaving long tail for sewing.

To make Wings (make 2):
Starting with Color A( I used blue), make Ch2
Round 1: 6 sc sts in the 2nd ch from the hook. (6)

Round 2: 2sc sts in each st around. (12)
Round 3: *sc in the first st, 2sc in the next sts* repeat all the way around. (18)
Round 4: sc all the way around. (18)
Change to color B.
Round 5-12: sc all the way around. (18) 
Round 13: *sc in next st, sc dec* repeat all the way around. (12) 
Round 14: sc dec all the way around.
Finish off leaving long tail for sewing.

Now when all parts are done, the wise owl is about to be born. Sew eyes, beak and wings to the body. 


Make the feet out of felt and sew it to the body.

To make the hat,you will need to cut out of felt:
-two 2x2 pieces  
- 1/2 inch wide and 4 inches long piece

Sew two ends together.

Join the bottom piece with the top one with couple of stitches.


Place the second square on top and join it with a blanket stitch.


And it is done!

Just add a tassel and put it on your very wise owl! :)


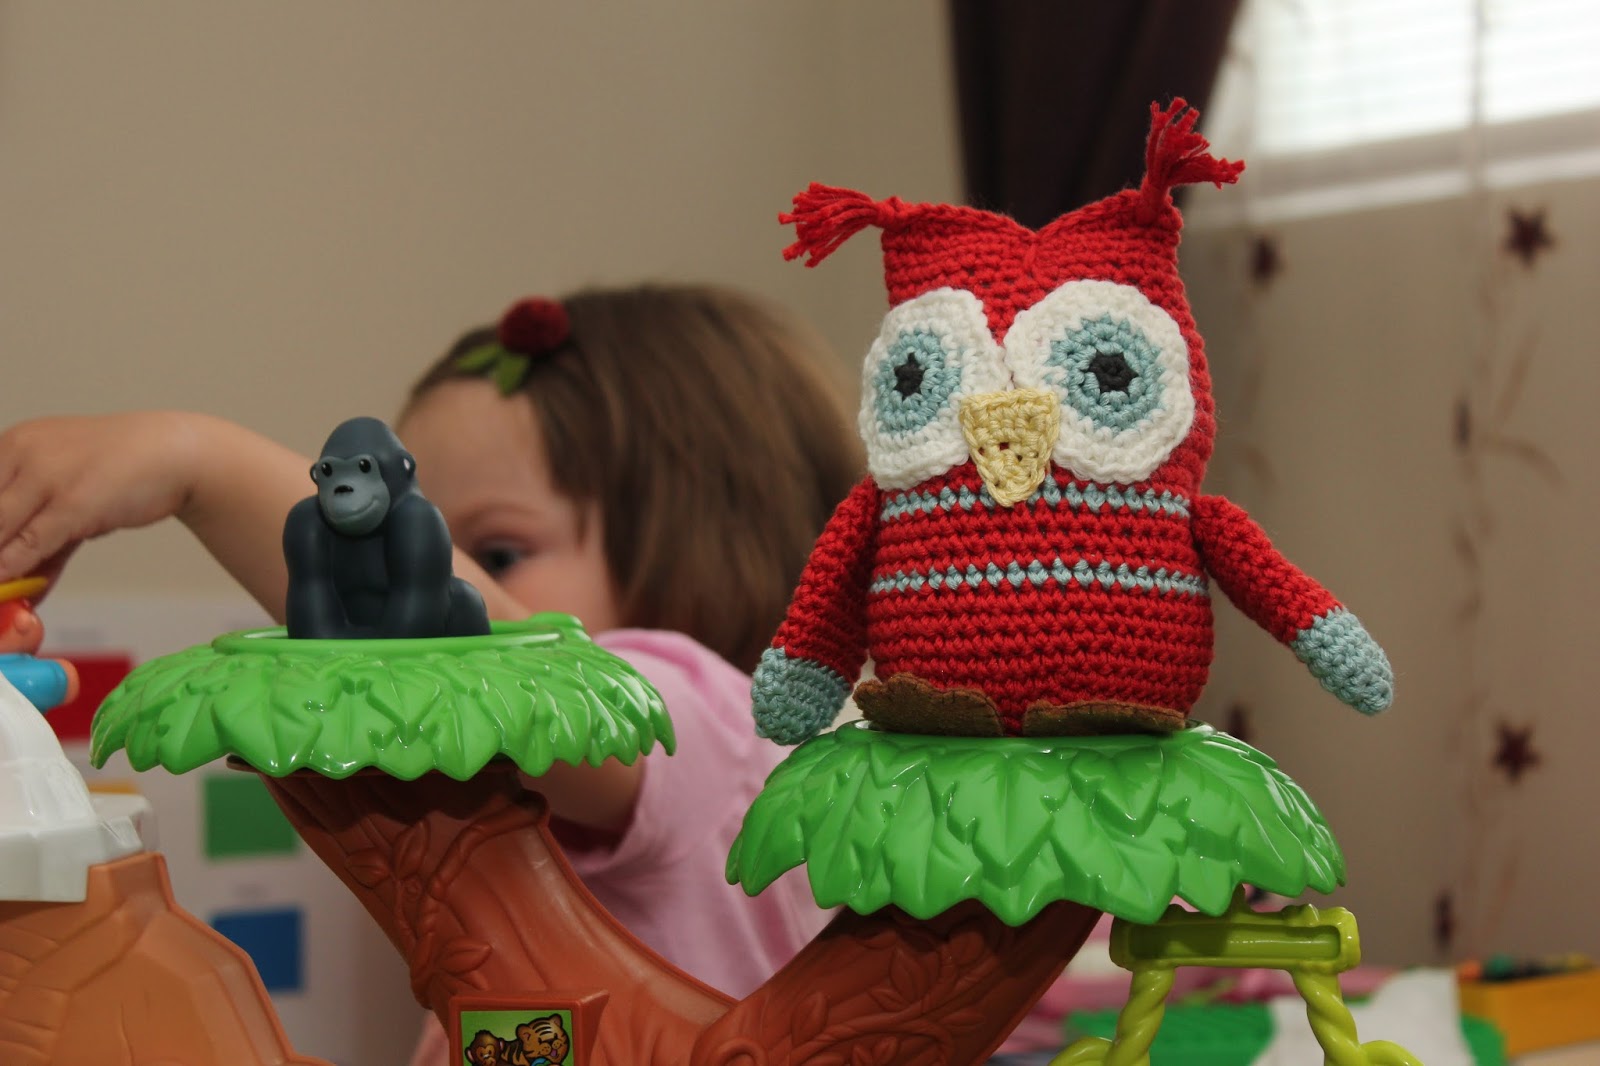
After graduation my owl left her hat and diploma on the shelf and joined Alina's Zoo! :)


She met new friends...

and is having a lot of fun around here!

Even wise owls need a break! :)


Pin It!